
 Pin it
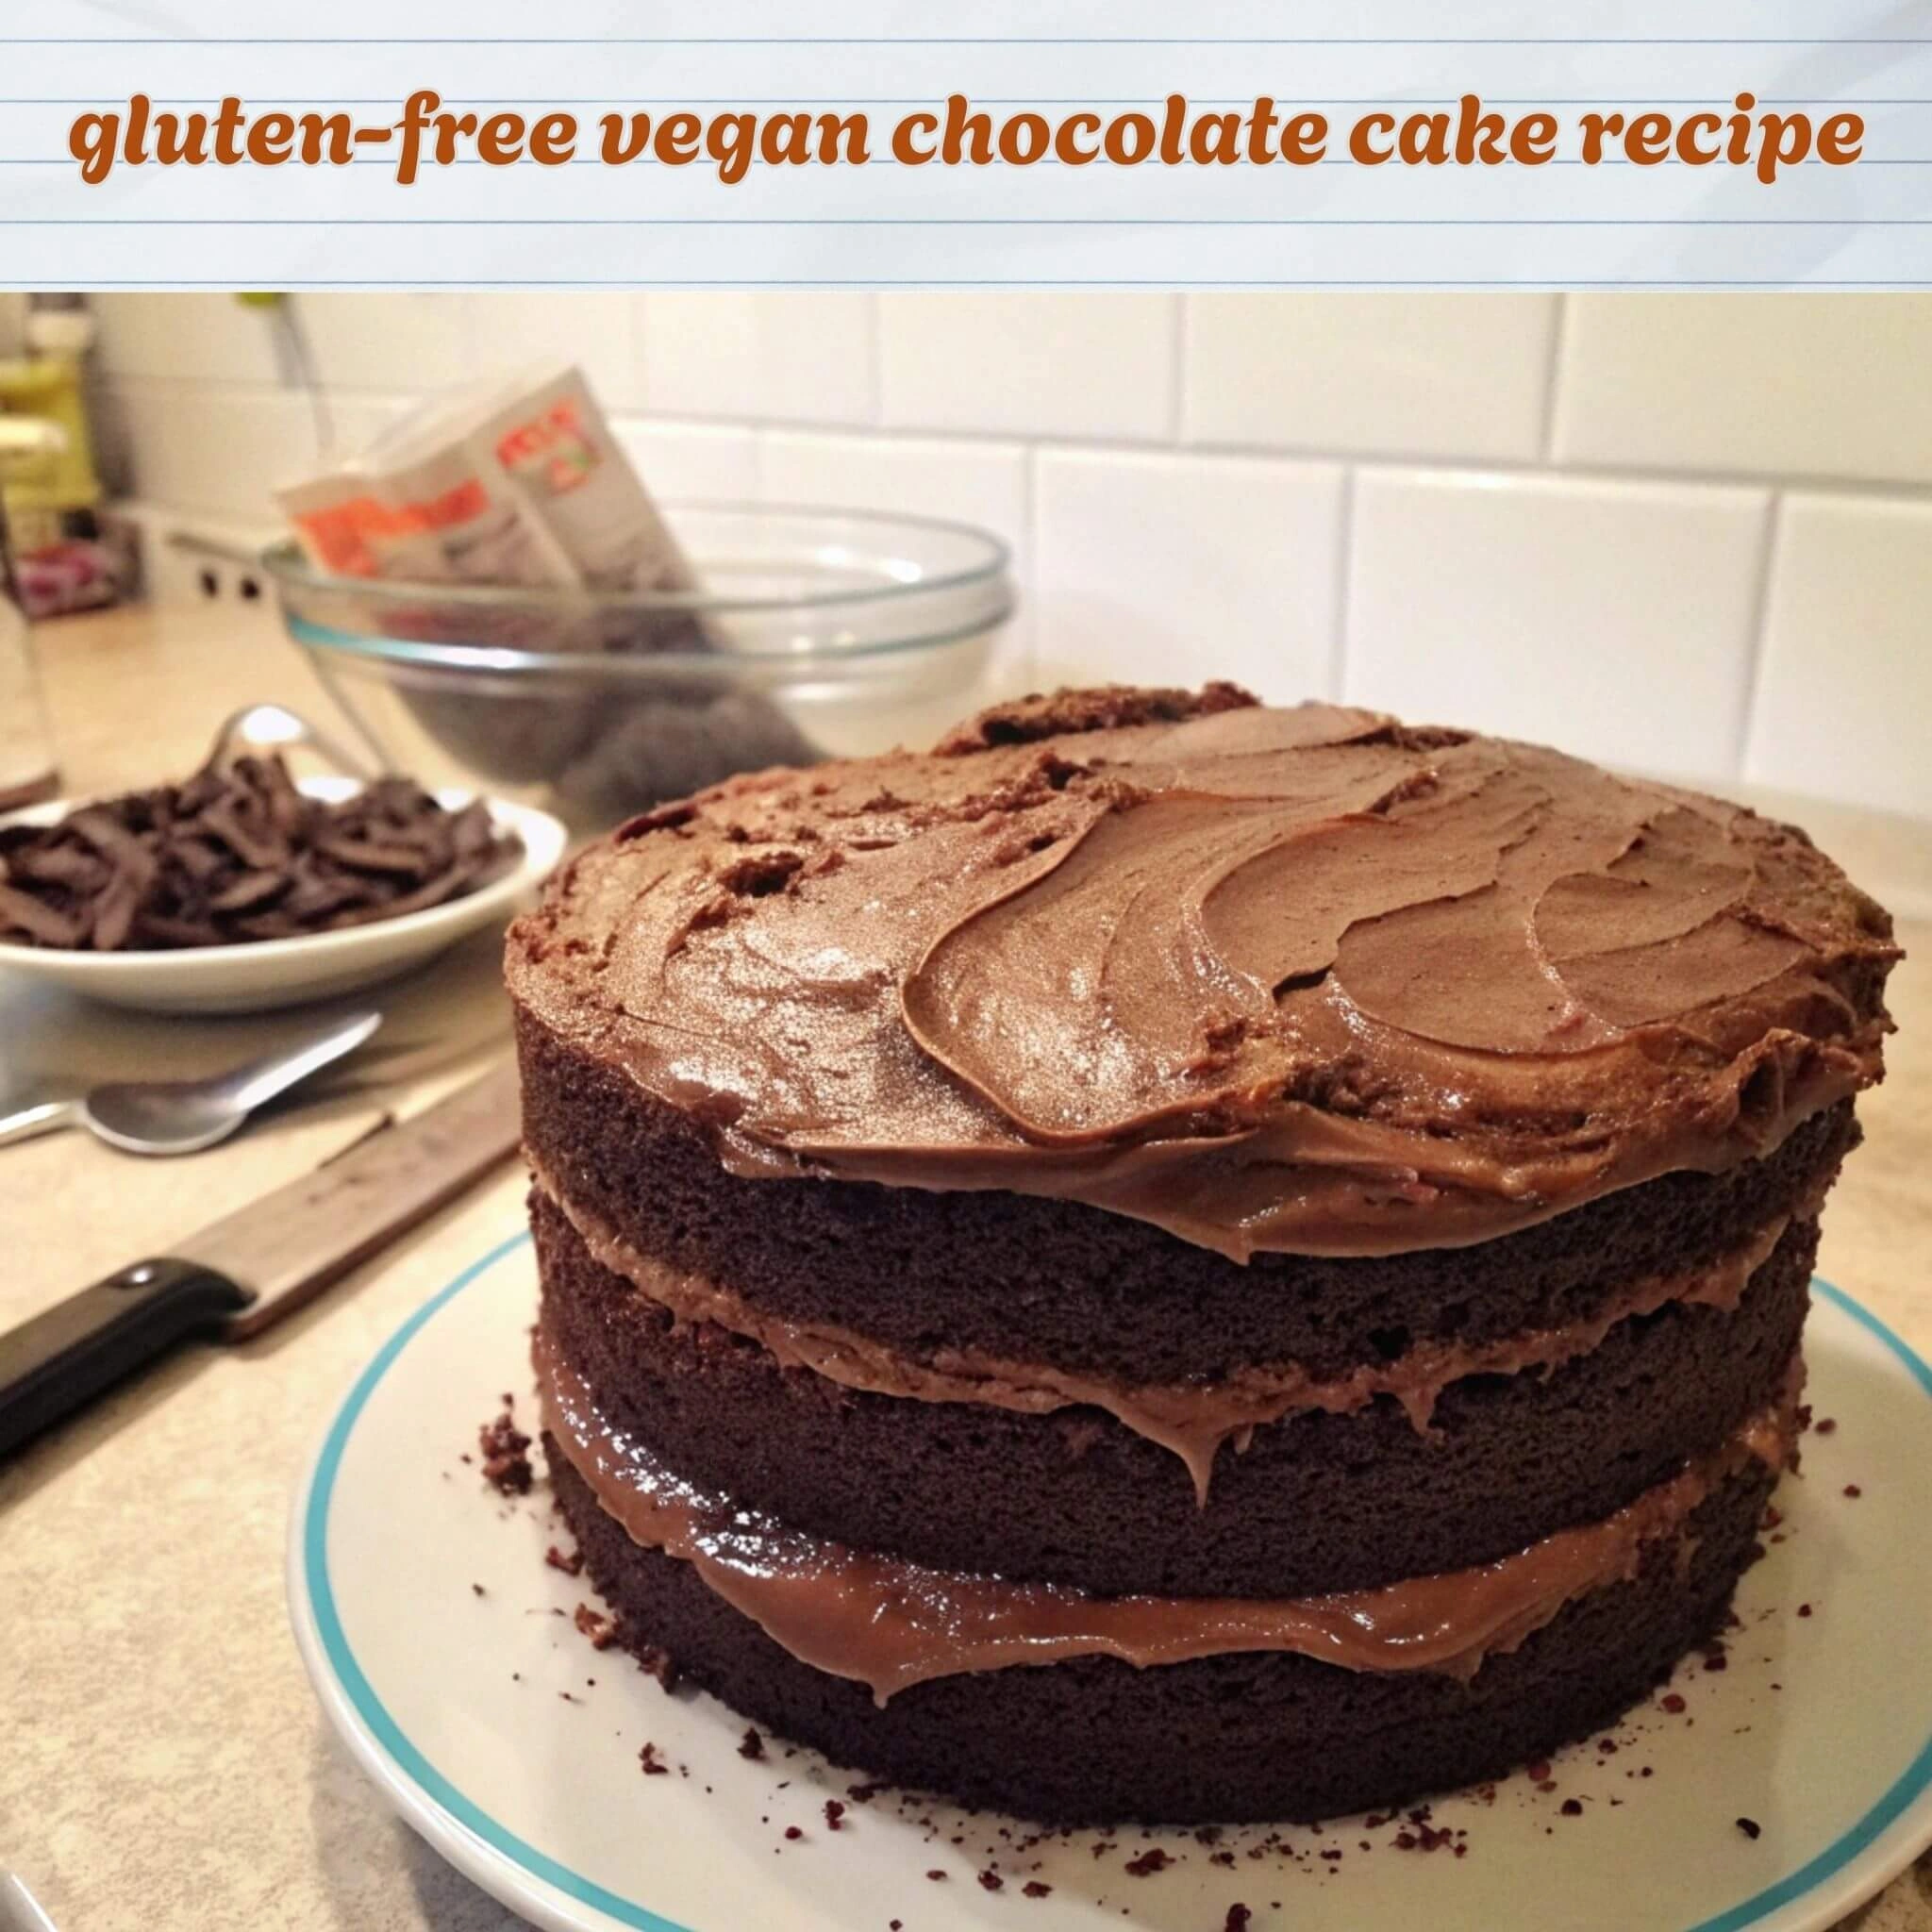
Picture this: it's a rainy Sunday, I’m in my PJs, covered in flour (because let’s be real, that’s how I bake), and craving chocolate. Like, REALLY craving chocolate. This gluten-free vegan chocolate cake wasn't born out of some grand baking plan. Nah, it was pure desperation. My best friend, Sarah, had just gone gluten-free and vegan, and I, being the awesome friend I am (sometimes), wanted to bake her something special. I won’t lie, the first attempt was… interesting. Let’s just say the smoke alarm got a good workout. But I’m stubborn. And I love cake. So, I persevered. After many trials (and many more flour-covered surfaces), I landed on this gem. The smell of warm chocolate filling the kitchen, the slightly cracked top (totally intentional, adds character!), the first gooey bite... pure magic. Even I was shocked, and I’m the queen of kitchen chaos. This isn’t just a cake; it’s a hug in a pan, a celebration of little victories, a testament to the fact that even a disaster in the kitchen can lead to something beautiful.
Once, I forgot the baking powder. It looked like a brownie… a sad, flat brownie. Don't be me. Learn from my mistakes!
Ingredients
- Gluten-Free Flour Blend: Don’t even think about using just one type of gluten-free flour. A blend is key. I like Bob's Red Mill 1-to-1, but honestly, I’ve used others in a pinch. It's all good.
- Vegan Butter: Melt it, baby! Miyoko's Kitchen is my go-to. It’s kinda pricey, but trust me, it's worth it for that rich, buttery flavor. I tried coconut oil once... not the same. Not even close.
- Cocoa Powder: Dutch-processed, always. The darker, the better. It’s like a deep, dark secret in every bite. No substitutions here, sorry not sorry.
- Sugar: Regular ol’ granulated sugar is fine, but I sometimes sneak in some coconut sugar for a caramel-y twist. Shhh, don’t tell anyone.
- apple Cider Vinegar: Don’t skip it! It reacts with the baking soda to create that fluffy magic. Honestly, I didn't expect that the first time and it was a mind-blowing kitchen moment.
- Vegan Chocolate Chips: Because, duh. Enjoy Life is my fave, but any will do. Just make sure they're vegan, obviously. Extra points for dark chocolate.
- Plant-Based Milk: Almond or soy work best for me. Don’t you dare use skim milk, just don’t.
- Vanilla Extract: Real vanilla extract, please. It makes a HUGE difference. I once used imitation vanilla, and it was… a dark time.
Instructions
- Step 1: Preheat & Prep
- Preheat oven to 350°F (175°C). Grease and flour a 9x13 inch baking pan. Okay, “flour” is a loose term here since we're gluten-free. Use cocoa powder instead, it adds a subtle chocolate boost! This is the part where I put on my favorite baking playlist and channel my inner pastry chef (even though I’m totally not). The kitchen smells like anticipation and maybe a little bit of burnt sugar from that one time I tried to caramelize bananas… oops.
- Step 2: Dry Ingredients Dance
- Whisk together the flour blend, cocoa powder, sugar, baking powder, baking soda, and salt in a large bowl. Don’t be like me and forget the salt. I swear, it happens more than I’d like to admit. Also, be careful not to sneeze into the bowl. Just saying.
- Step 3: Wet Ingredients Party
- In a separate bowl, whisk together the melted vegan butter, plant-based milk, apple cider vinegar, and vanilla extract. When that vanilla hits? Yeah, that’s the good stuff.
- Step 4: The Big Mix
- Slowly pour the wet ingredients into the dry ingredients, whisking constantly. Don’t overmix! Just until combined. Trust me, I’ve learned this the hard way. Overmixing equals a tough cake. Nobody wants a tough cake. Unless you’re into that kinda thing, then go wild.
- Step 5: Chocolate chip Shower
- Fold in those glorious chocolate chips. Okay, be honest. How many do you sneak while “folding”? Don’t lie, I know your secret.
- Step 6: Bake & Pray
- Pour the batter into the prepared pan and spread evenly. Bake for 30-35 minutes, or until a toothpick inserted into the center comes out clean (or with a few moist crumbs clinging to it. That’s how I like it!). This is the hardest part. The waiting. The anticipation. The constant peeking through the oven door (which you shouldn't do, but we all do it anyway, right?).
I made this cake for my mom's birthday last year. It was a bit lopsided, slightly overcooked, and covered in a very imperfect layer of frosting. But she loved it. And that’s all that matters, right?
Storage and Reheating Tips
This cake is best served fresh, but let’s be real, sometimes leftovers are inevitable. Store it in an airtight container at room temperature for up to 3 days, or in the fridge for up to 5. I’ve also frozen slices wrapped individually for a quick chocolate fix later. Just thaw overnight in the fridge. Microwaving it? Not recommended. It gets kinda dry and sad. Reheat gently in the oven if you must. I learned this the hard way after a late-night microwaving incident that resulted in a chocolatey explosion. Never again.
Pro Tips & Variations
Feel free to add nuts, chopped dried fruit, or even a swirl of vegan cream cheese to the batter. Get creative! I once added espresso powder and it was AMAZING. Like, seriously good. I also tried adding fresh raspberries once… it worked… kinda. It was a bit too tart for my liking, but my friend Sarah loved it! If you’re feeling fancy, dust the cake with powdered sugar or drizzle it with melted chocolate. In the fall, I add a sprinkle of cinnamon because cozy vibes are a must.
What to Serve It With
This cake is perfect on its own, honestly. But a scoop of vegan vanilla ice cream? Game changer. A dollop of coconut whipped cream? Also a win. A glass of almond milk? Classic. A steaming mug of hot chocolate? Pure decadence. If you’re feeling extra fancy, pair it with a glass of red wine. Because why not?
Final Thoughts
This gluten-free vegan chocolate cake isn’t just a recipe; it's a journey. A messy, delicious, imperfect journey. It’s about embracing the kitchen chaos, the burnt edges, the lopsided layers, and the accidental flour explosions. It's about creating something beautiful out of the ordinary, something that nourishes not just the body, but the soul. So go ahead, make this cake. Make a mess. Make it your own. And most importantly, enjoy every imperfectly perfect bite. What's your favorite kitchen disaster story? Share in the comments!
Frequently Asked Questions
- → Can I make this ahead of time?
Absolutely! Bake the cake a day or two in advance and store it in an airtight container. I’ve done this many times when I’m hosting a party and it's a lifesaver. One time, I even made it a week ahead and it was still good!
- → What if I don't have apple cider vinegar?
Lemon juice works in a pinch! I've used it when I was out of ACV and, to be real, I barely noticed a difference. It might be a tad tangier, but hey, it works!
- → My cake came out too dry. Help!
Oh no! I've been there. Check your oven temperature, make sure you're not overbaking, and don't overmix the batter. A little extra plant-based milk next time can help too.
- → How long does this really last in the freezer?
It's good for about 2-3 months in the freezer. Make sure it's wrapped tightly to prevent freezer burn. I once forgot to wrap a slice properly, and it became a hockey puck. Lesson learned.
- → Can I add blueberries to this?
Yes! I’ve tried it with blueberries and it's delightful. I haven’t tried other berries, but I bet raspberries or strawberries would be amazing too. Let me know if you experiment!